I’ve always been a bit of a watch guy. I mean, I’m not some fancy collector with a safe full of Rolexes or anything, but I appreciate a good timepiece. But you know what’s cooler than owning a nice watch? Making your own! So, I decided to give it a shot.
First, I started thinking about what I wanted. Did I want to just modify a watch I already had? Maybe swap out the band, change the face? Nah, that seemed too easy. I wanted to build one from the ground up. I found out that it is not a strange thing because there are many watchmakers or horologists to make and repair watches. This made me more confident.
I started hitting up Google, just browsing around, and I quickly realized that there’s a whole world of watch parts out there. You can buy movements, cases, dials, hands, crystals – basically everything you need. It’s kind of like building a PC, but way smaller and more intricate. Some brands like Rolex and Omega hand assemble their timepieces. I want to make one like them.
I decided to go with a simple, classic design. I’m not really into flashy stuff. I found a nice, stainless steel case, a clean white dial, and some basic black hands. For the movement, I went with a decent automatic one. I’m not a watch expert, so I did some research and picked one that seemed reliable and wouldn’t break the bank. It cost me some time to search and learn.
Then came the hard part – putting it all together. I ordered a set of watchmaking tools from some online store – tiny screwdrivers, tweezers, a loupe, the whole nine yards. Let me tell you, working with these tiny parts is no joke. My hands were shaking, and I swear I almost lost a screw on the floor at least a dozen times.
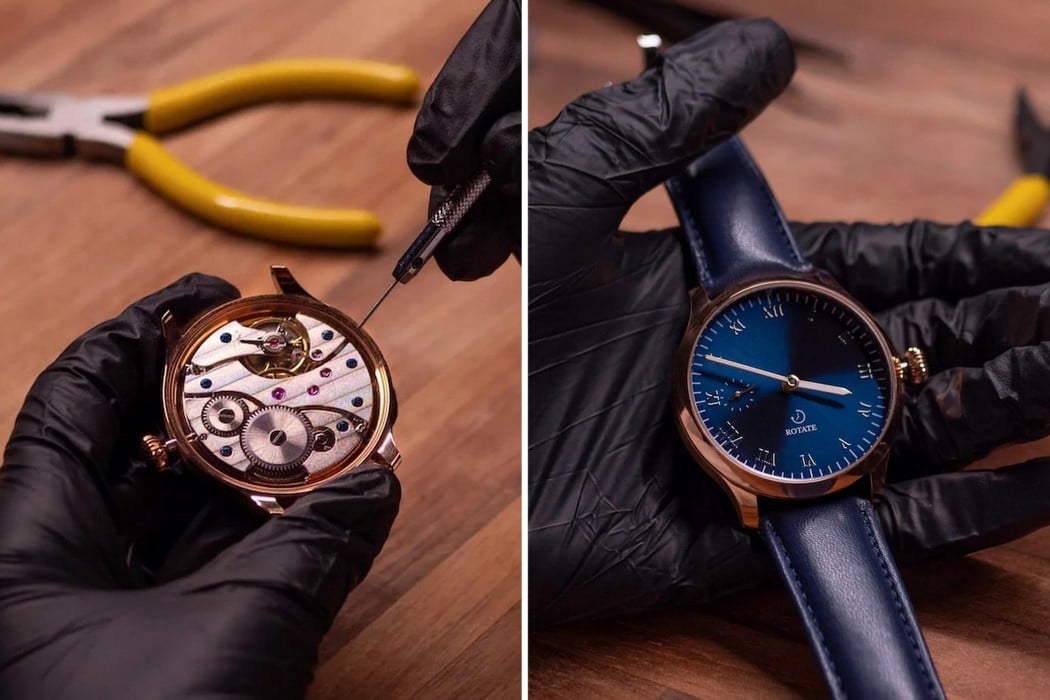
Here’s a breakdown of the process, as best as I can remember:
- Installing the movement: This was probably the most nerve-wracking part. I had to carefully place the movement into the case and secure it with these tiny screws. One slip, and I could’ve damaged the whole thing.
- Attaching the dial: The dial had these little feet that had to be aligned with holes in the movement. I used a special kind of glue to hold it in place. It has to be super precise because the dial must align with the hands, or the time it shows will not be accurate.
- Setting the hands: This was a real test of patience. I had to use tweezers to place the hands on the movement’s central shaft, making sure they were aligned perfectly.
- Putting on the crystal: The crystal is the glass cover that protects the watch face. I used a special press to snap it into place.
- Adding the strap: I chose a simple black leather strap. Attaching it to the case was pretty straightforward, thankfully.
After a few hours of careful work, and a whole lot of sweating, I finally had a finished watch! It wasn’t perfect, but it was mine. I wore it around for a few days, and it actually kept time pretty well. I was so proud of myself!
My First Watch
It’s a pretty cool feeling to wear a watch that you made yourself. It’s not just a timepiece; it’s a little piece of your own creativity and effort. I might try making another one sometime, maybe with a more complicated design. Who knows, maybe I’ll even start selling them. Just kidding… unless?