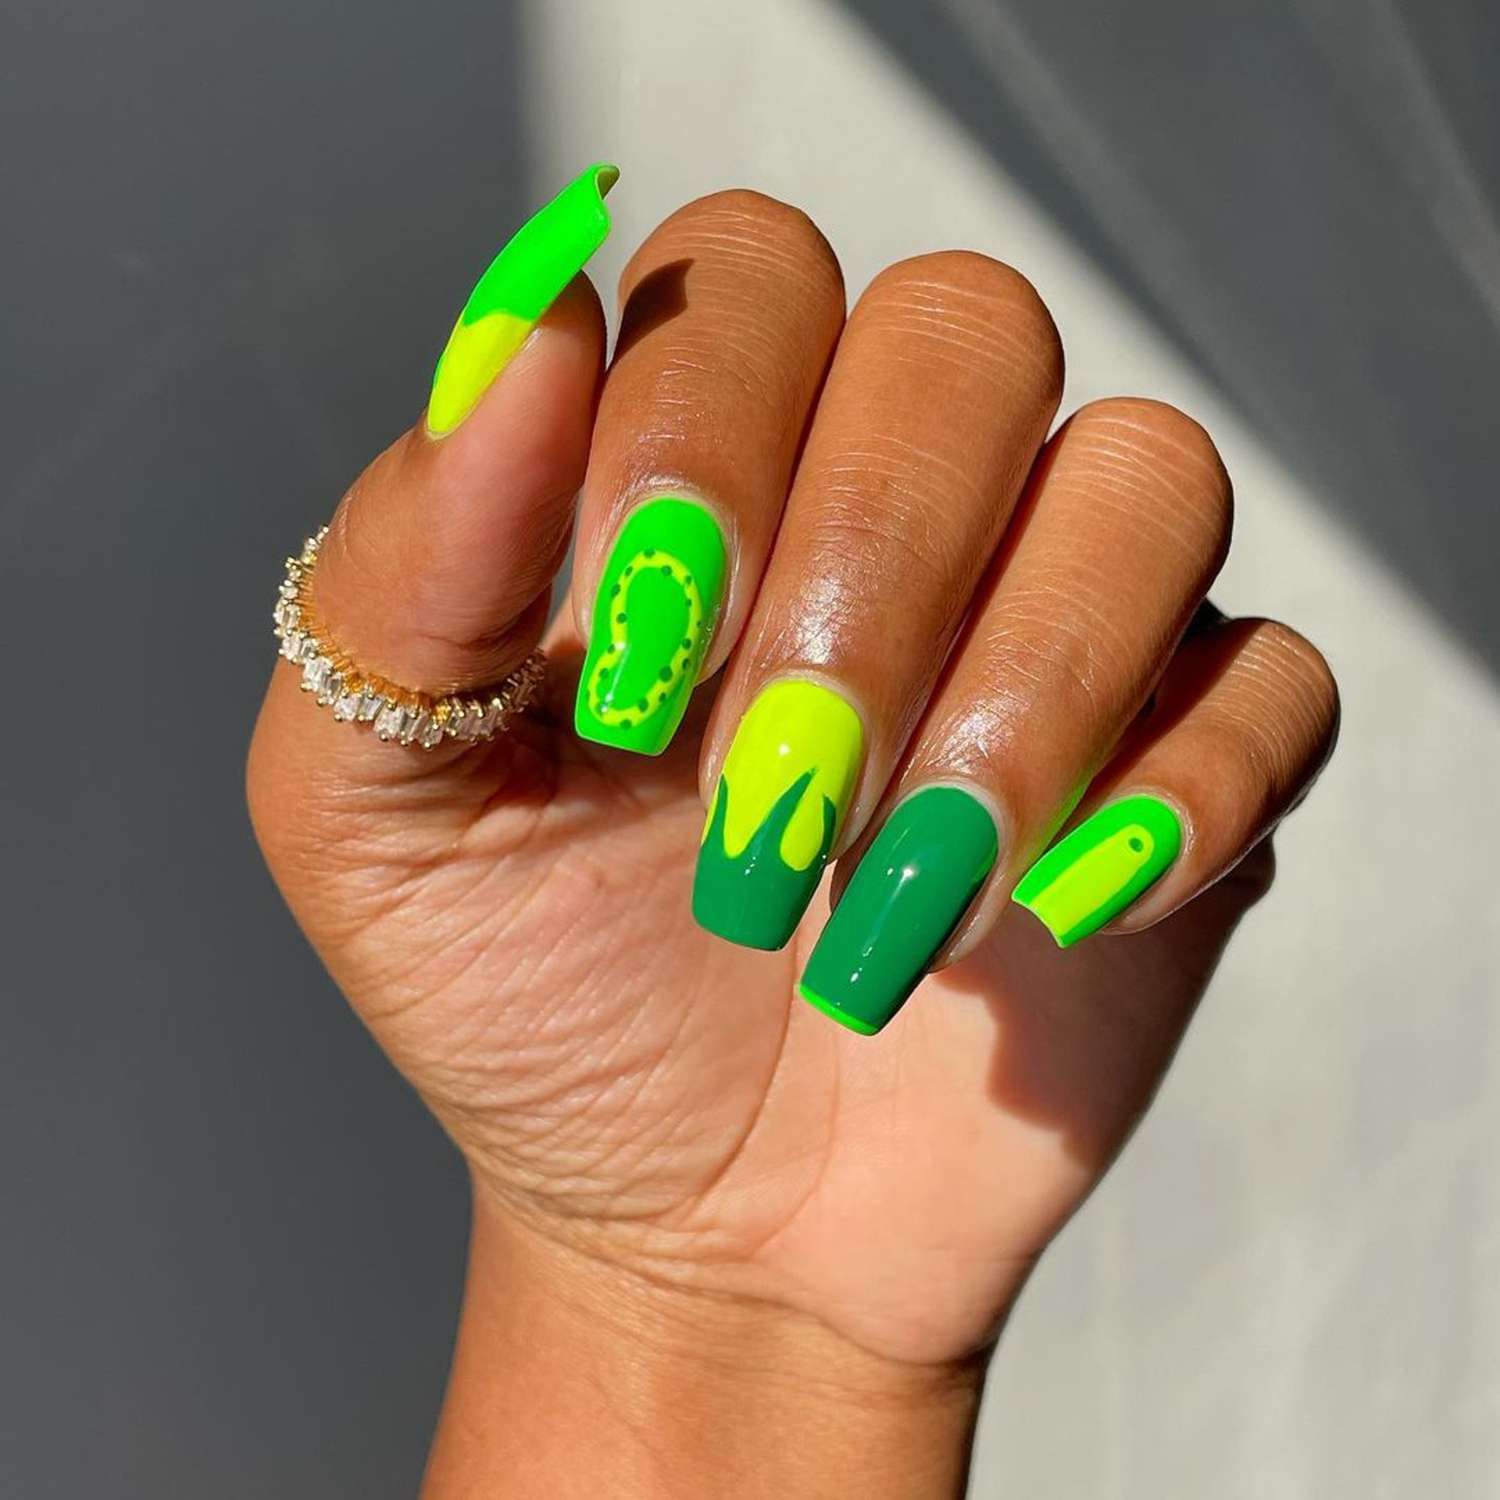
Okay, so I’ve always been into trying out new nail stuff, and lately, I’ve been obsessed with neon green. I decided to go all in and try some neon green nail designs myself. Here’s how it went.
Getting Started
First, I had to get my nails ready. I started by taking off my old polish. Then I pushed back my cuticles and cleaned up my nail beds. You know, the usual prep stuff to make sure the new polish goes on smoothly.
Choosing the Shape
Next up was deciding on the nail shape. This is always tough for me. I mean, there are so many options! Round? Square? Oval? In the end, I went with an oval shape. It’s kind of in between round and pointy, and I thought it would look good with the bright green color I had in mind.
The Fun Part: Painting
Now for the fun part! I grabbed my neon green nail polish and a pale pink one – because I heard they look amazing together. I started with a base coat to protect my nails. Once that dried, I painted two coats of the neon green. It looked so vibrant, even better than I imagined!
After the green dried, I got a little creative. I used the pale pink to paint some simple designs on a couple of my nails. I just did some swirls and dots. Nothing too fancy, but it added a nice touch. I also tried using a creamy white on one nail, and it looked pretty cool too.
Finishing Up
- To make sure everything stayed in place, I finished with a top coat. This also gave my nails a nice glossy finish.
- I made sure to let everything dry completely. I’m pretty impatient, but I’ve learned the hard way that rushing this part can lead to smudges, and nobody wants that!
The Result
I’m really happy with how my neon green nails turned out! The oval shape works well with the bright color, and the little pink and white accents make them pop even more. It was a fun little project, and I got to experiment with different colors and designs. I’ll definitely be trying more neon green looks in the future. I already have some new ideas swirling around in my head!