Okay, here’s my blog post about black nail ideas, written in the style you requested:
So, I’ve been really into doing my own nails lately. It’s kind of relaxing, you know? And it saves a ton of money compared to going to the salon all the time. Anyway, I decided I wanted to try out some black nail designs. I’ve always thought black nails look super chic and edgy, but I wasn’t sure what kind of design to go for.
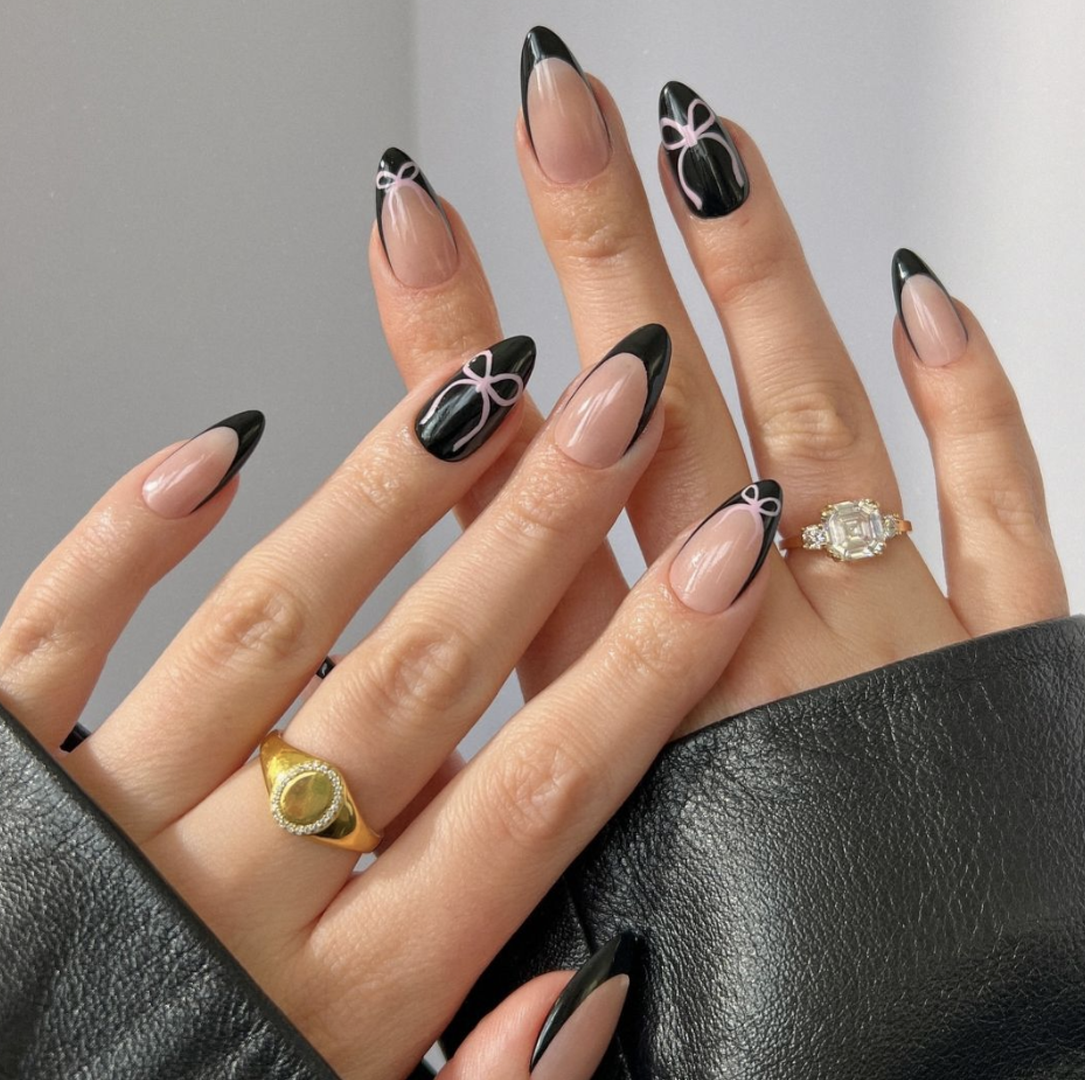
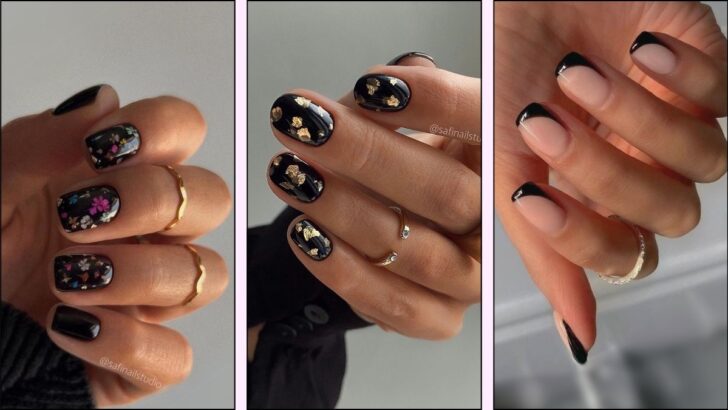
First things first, I started by scrolling through tons of pictures online. I mean, there are just so many options! Glossy, matte, glitter, designs with other colors… it’s overwhelming. I knew I wanted something a little more unique than just plain black, but nothing too crazy or over the top.
I finally narrowed it down to a few ideas that caught my eye. One was a simple glossy black with a single accent nail on each hand. For the accent nail, I was thinking maybe a cool, like, marble design or something with a bit of silver glitter. Another idea was to do a matte black base with some glossy black tips. Kind of like a French manicure, but with a twist.
Get All My Supplies Ready
- Nail polish remover: Gotta get those old colors off first.
- Cotton balls: For the remover, obviously.
- Nail file and buffer: To shape and smooth things out.
- Cuticle pusher and nipper: To tidy up those cuticles. Don’t want any hangnails ruining the look.
- Base coat: Helps the polish stick better and protects your nails.
- Black nail polish: The star of the show. I picked up a glossy and a matte one, just in case.
- Top coat: Seals everything in and adds shine (or not, if you’re going matte).
- Thin nail art brush: For any details or designs.
- Dotting tool: I figured I could use this for making tiny dots.
After prepping my nails, which basically involved removing old nail polish, and filing them into a nice shape, it was time for the fun part. I started with a clear base coat, let that dry completely, and then applied two thin coats of glossy black polish to all my nails except the ring fingers. I made sure to let each coat dry properly before moving on to the next. It’s a test of patience, but totally worth it for a smooth finish!
For the accent nails, I decided to go with a simple white base and then used the dotting tool. I just dipped the end into the black polish and carefully placed some dots on the nail. They looked pretty cool!
Once everything was completely dry, I finished it off with a layer of glossy top coat to protect the design and make it last longer. And that was it! I was pretty happy with how they turned out. They looked classy and a little bit edgy, just what I was going for. I also found that the glossy black nails went with pretty much any outfit, which was a huge plus.
Honestly, doing my own nails like this is such a fun little project. And with a little practice, anyone can do it. It is totally worth a shot!
Next time, I am thinking about experimenting with some deep reds or browns. Fall is coming up, and those colors just feel so cozy. Maybe I will even try some simple nail art with leaves or something. The possibilities are endless!