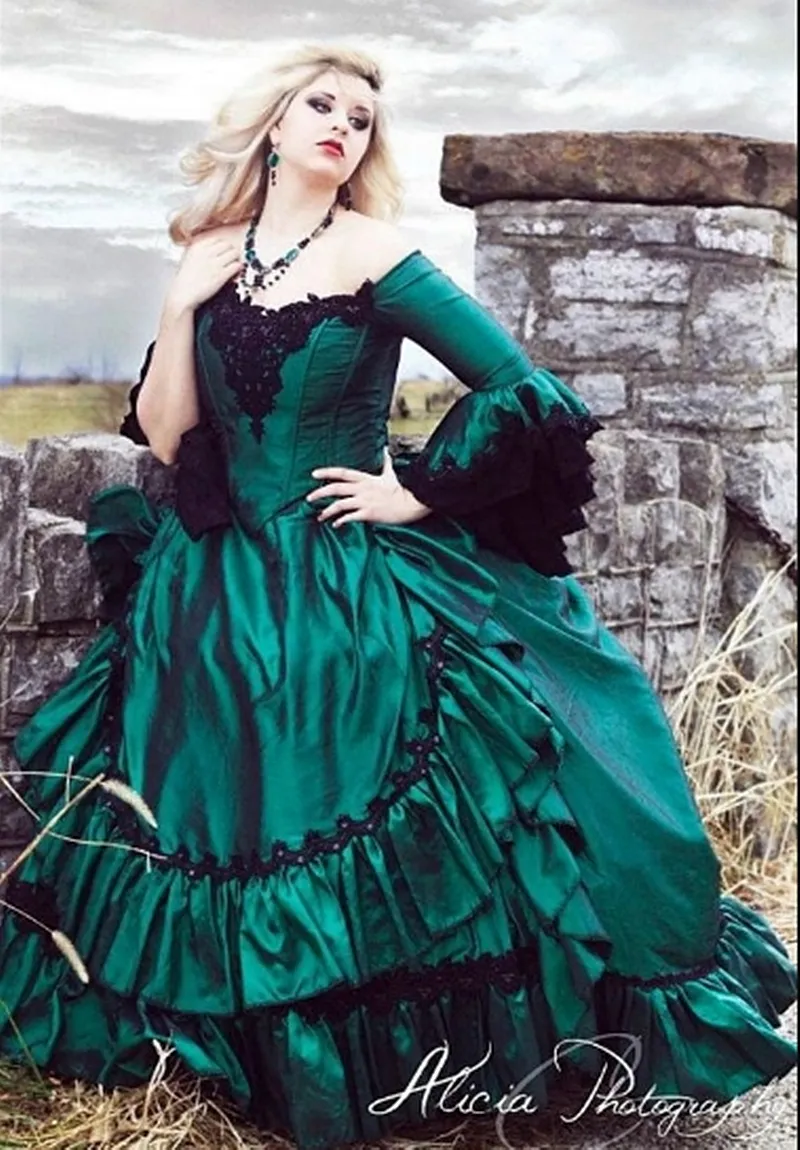
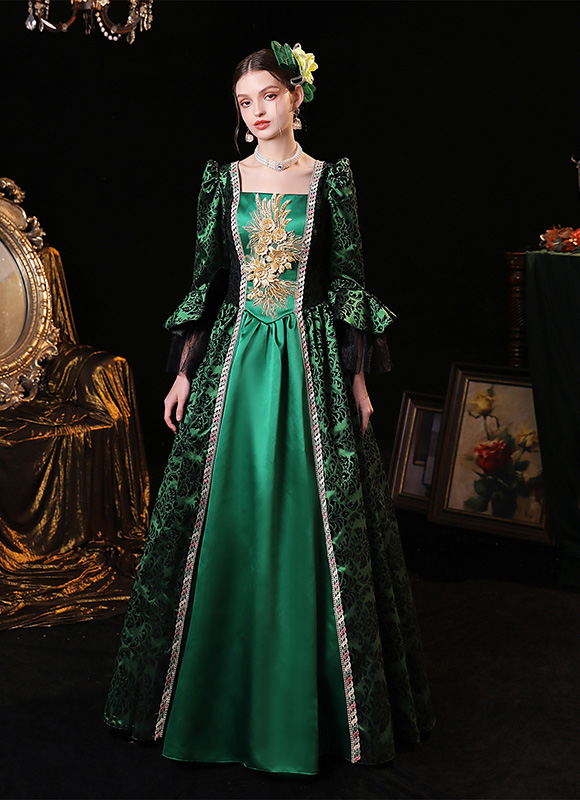
Okay, so, today I decided to make myself an emerald green Victorian dress. I’ve always loved that old-fashioned, classy look, and emerald green is just such a rich, beautiful color. So, I thought, why not combine the two? Let’s do this!
First things first, I needed to figure out what kind of dress I wanted. Victorian dresses are known for their big, poofy skirts and tight bodices. I am not a pro, I did a bit of research online, looking at pictures of actual Victorian dresses for inspiration. I found some really gorgeous ones, but some of them looked way too complicated for me to make. I mean, I’m pretty good with a sewing machine, but I’m no expert, you know?
After browsing for a while, I finally settled on a design that looked manageable. It had the classic Victorian silhouette with a fitted bodice, a full skirt, and long sleeves, but it didn’t have a ton of intricate details that would be too hard for me to handle. Now, I got a pattern that matched the style I wanted. Luckily, I found one online that was pretty close, so I downloaded it and printed it out.
Next up, fabric shopping! I went to my local fabric store, and let me tell you, finding the right shade of emerald green was a bit of a challenge. There are so many different shades of green! I finally found a beautiful, deep emerald green fabric that I loved. It was a bit pricier than I had planned, but hey, this dress is going to be special, right? And about the amount, I ended up buying about 6 yards of the stuff since Victorian dresses use a lot of fabric with those big skirts. I also picked up some matching thread, some interfacing to give the bodice structure, and a zipper for the back of the dress.
With all my supplies gathered, I started working on the dress. First, I cut out all the pattern pieces from the fabric, which took a while because there were so many pieces! Then, I started sewing the bodice together. That was a bit tricky because I had to make sure it fit me just right. I had to do a few fittings and adjustments, but eventually, I got it to fit pretty well.
The skirt was next. It was basically a giant rectangle that I had to gather to fit the bodice. Gathering is not my favorite thing to do because it’s so time-consuming, but it’s necessary to get that full, poofy look. Once the skirt was gathered, I sewed it to the bodice, and the dress started to really take shape.
The sleeves were relatively easy compared to the rest of the dress. I just sewed them together and then attached them to the bodice. The last step was hemming the skirt and sleeves and adding the zipper to the back. I made a few mistakes along the way, and had to use my seam ripper more times than I’d like to admit. But in the end, it all came together, and I have to say, I’m pretty darn proud of myself!
The dress is not perfect, of course. There are a few wonky seams here and there, and the zipper is a bit crooked. But you know what? I made it myself, and that’s what matters. It’s a beautiful emerald green Victorian dress, and I can’t wait to wear it to a special occasion. Maybe I’ll even throw a Victorian-themed tea party just so I have an excuse to wear it!
Here’s what I learned from this project:
- Victorian dresses are a lot of work!
- Gathering fabric is a pain, but necessary.
- Having the right tools, like a good seam ripper, is essential.
- It’s okay to make mistakes, as long as you learn from them.
- Making your own clothes is super rewarding!
I hope you enjoyed reading about my dressmaking adventure. If you’re thinking about making your own Victorian dress, I say go for it! Just be prepared for a challenge, and don’t be afraid to ask for help if you need it. Happy sewing!