Okay, here is my sharing about my experience of making Easter french tip nails.
So, I’ve always been a fan of doing something special with my nails, especially around the holidays. With Easter coming up, I thought, why not try something fun and festive? I decided to go for Easter-themed French tip nails. Sounds simple, but let me tell you, it’s a bit of a journey.
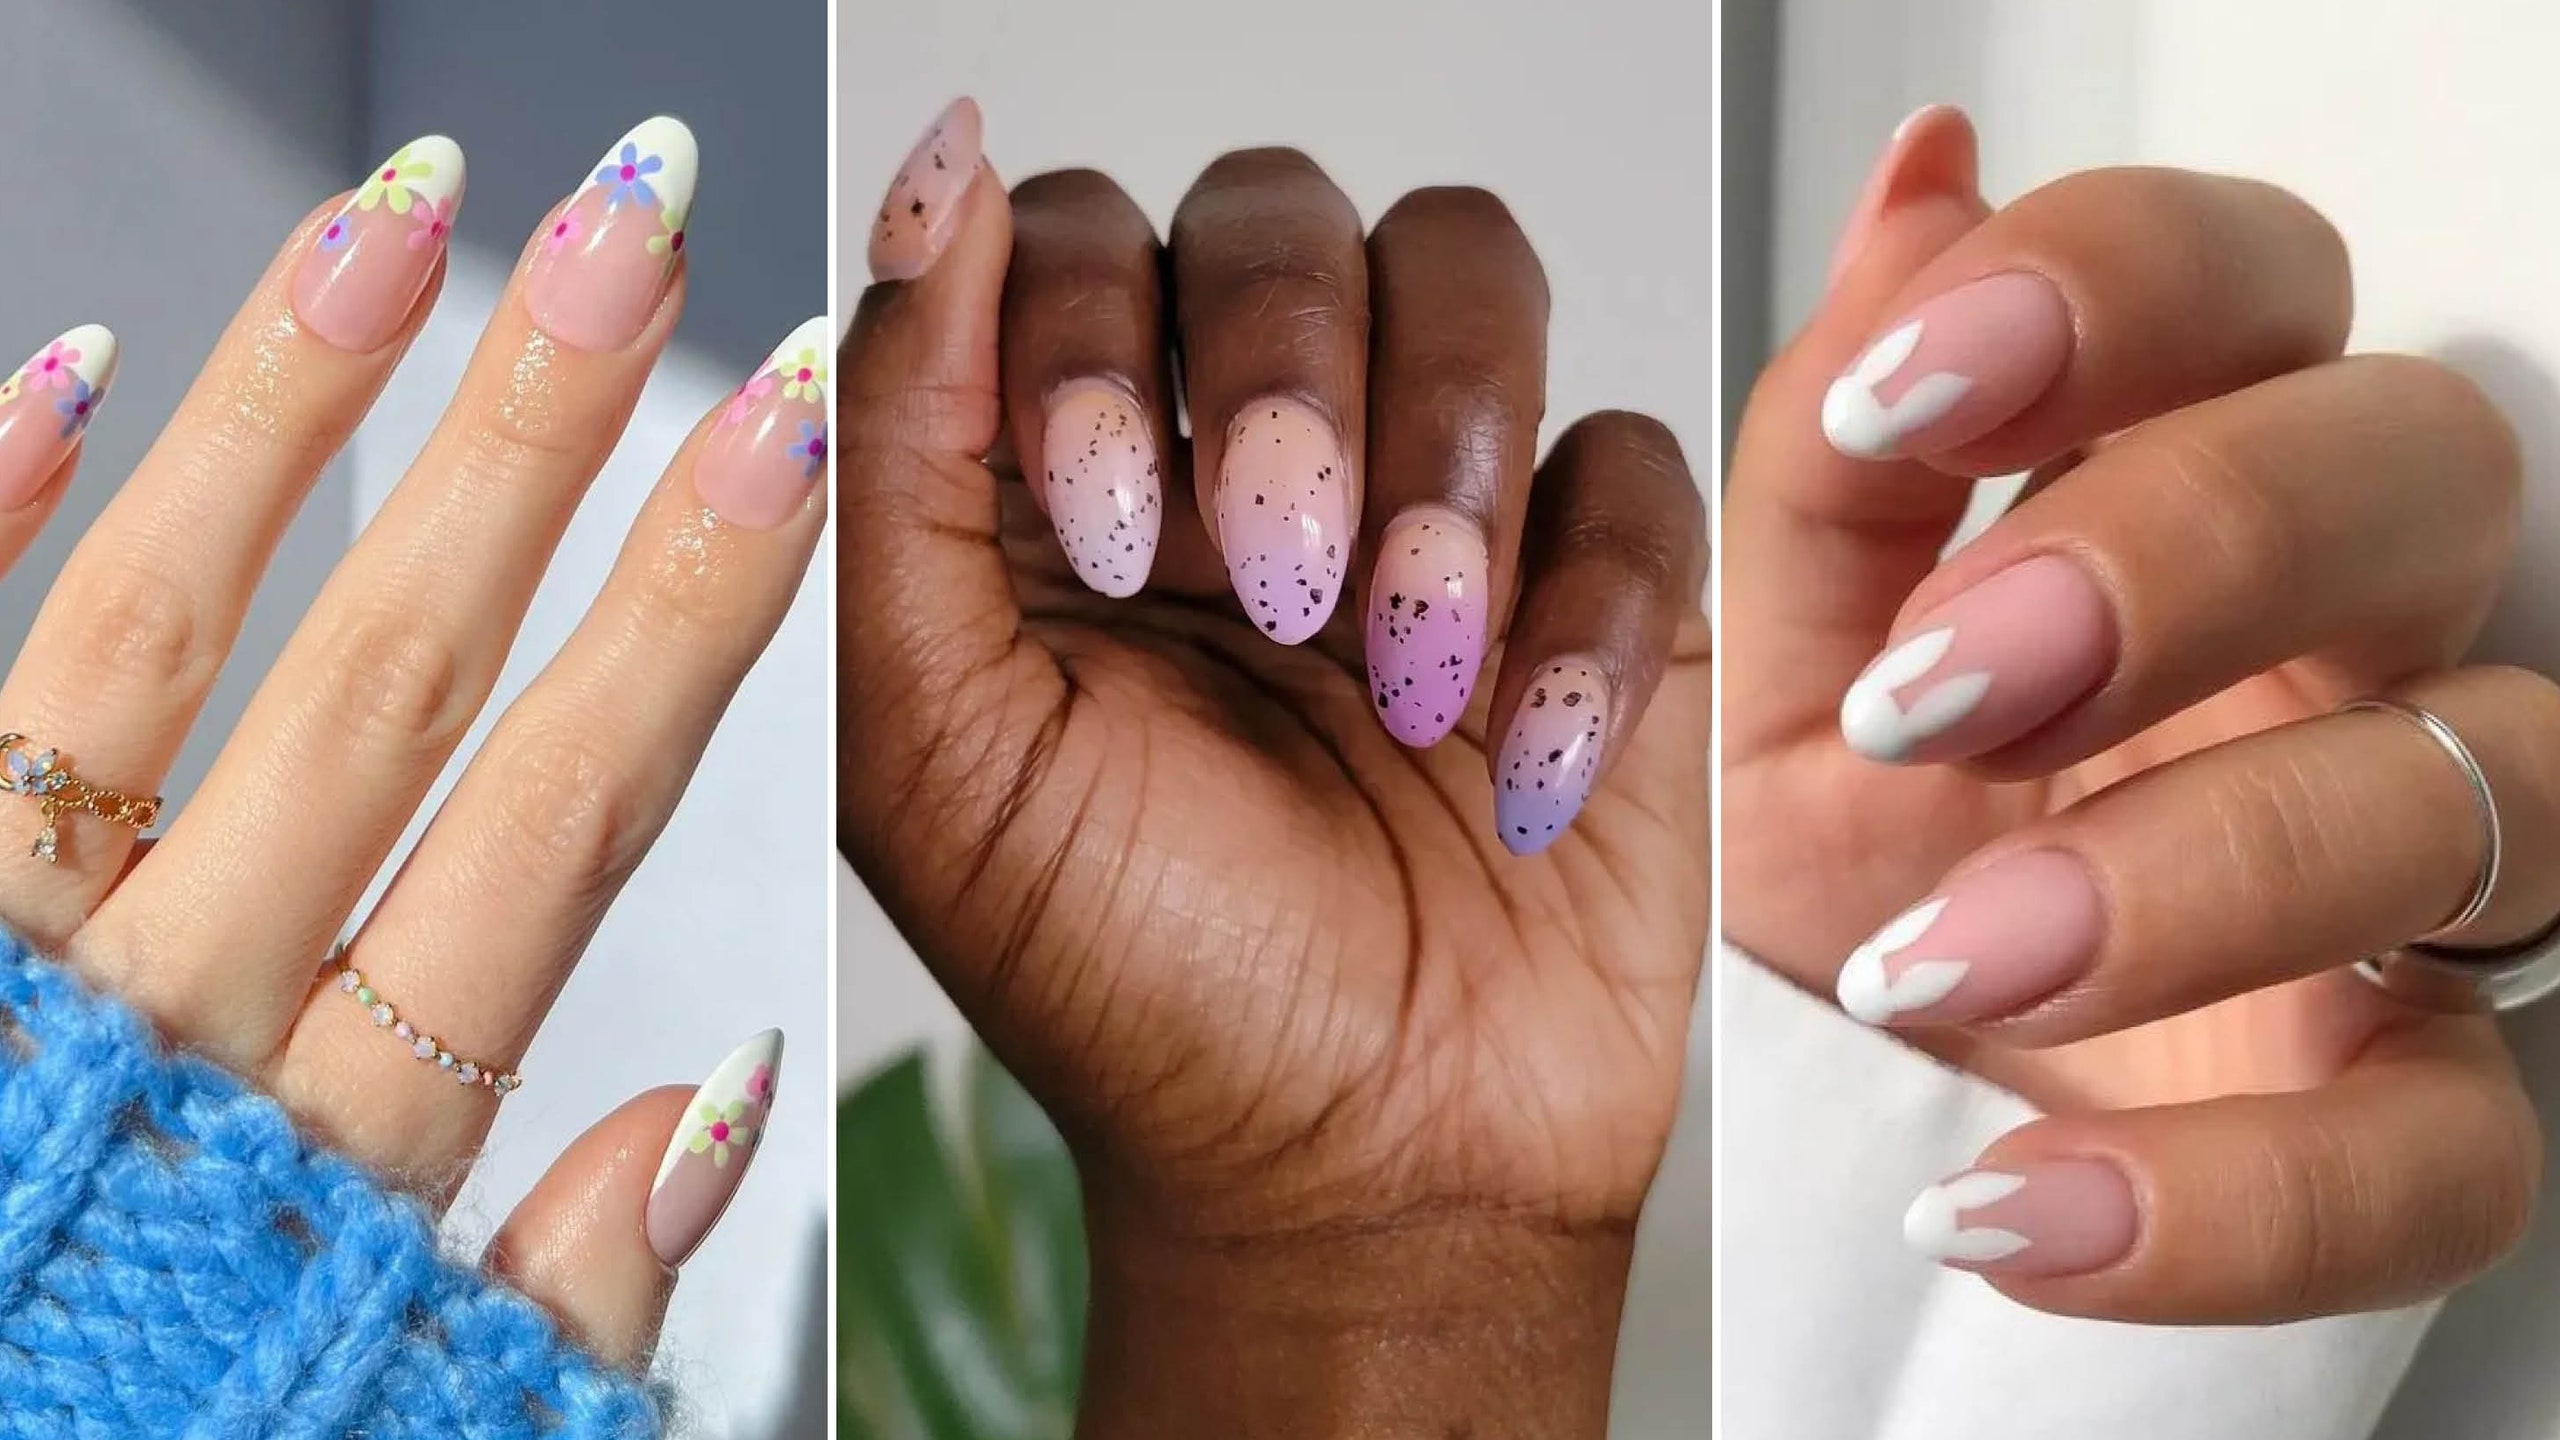
First, I had to gather my supplies. Now, I’m not a pro at this, so my collection is pretty basic. I picked out a bunch of pastel nail polishes – light blue, soft green, a gentle yellow, a lovely purple, and a sweet pink. I figured these colors scream “Easter,” right? I also made sure I had a good base coat and a shiny top coat.
I started off by prepping my nails. I filed them down a bit – I like mine square-shaped, seems like pointed french manicure need square nails. I pushed back my cuticles and cleaned up any rough edges. Then, I applied the base coat. This is important, you know? It protects your nails and helps the polish stick better.
Next up was the tricky part – the French tips. I thought about doing traditional white tips but then decided to use my pastel colors instead. I used a different color for each nail, because why not? Painting those tips was a challenge! My hands were a bit shaky, and getting that perfect curve was tough. I had to use a tiny brush and a whole lot of patience.
- Light Blue: I started with my thumb. The light blue was so pretty, but getting the line even was tricky.
- Soft Green: Next, my index finger. I messed up a couple of times and had to redo it.
- Gentle Yellow: The middle finger was a bit easier, for some reason. Maybe I was getting the hang of it?
- Lovely Purple: The ring finger was okay, but I noticed the tips were thicker on one side. Oh well.
- Sweet Pink: Finally, the pinky. By this point, I felt like a pro! (Just kidding, it was still a struggle.)
After the tips were done, I let them dry for a good while. I didn’t want to smudge them after all that work! Once they were completely dry, I carefully applied the top coat. This gave them a nice, glossy finish and helped protect the polish from chipping.
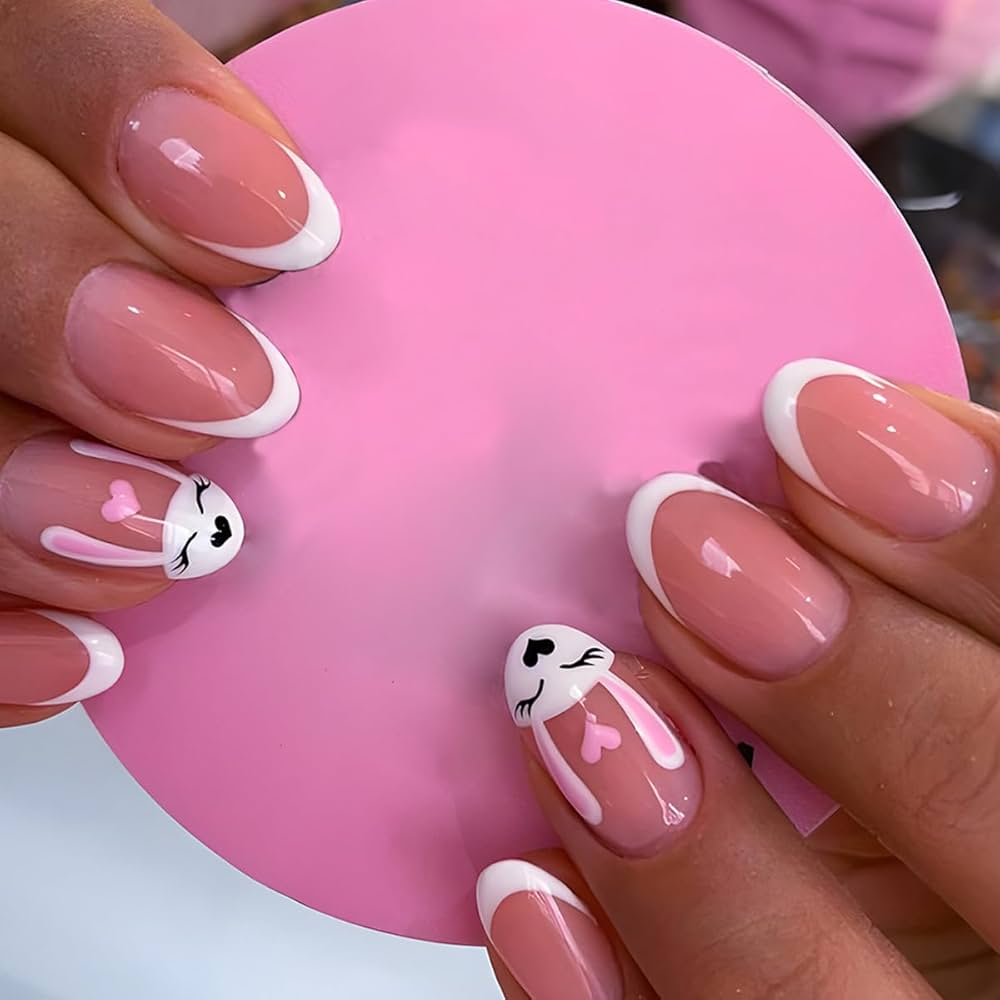
In the end, my Easter French tip nails turned out pretty cute, if I do say so myself. They weren’t perfect, but they were colorful, festive, and definitely Easter-themed. It was a fun little project, and it got me into the holiday spirit. I even got a few compliments on them, which was a nice bonus!
What I learned
Well, I learned that doing your own French tips is harder than it looks. It takes practice and a steady hand. But it’s also really satisfying to create something yourself. Next time, I might try using nail tape or stencils to get cleaner lines. Or maybe I’ll just book an appointment at a nail salon like a pro. But hey, where’s the fun in that?
Hope you enjoyed my little nail art adventure! Maybe it’ll inspire you to try something new with your nails, too.