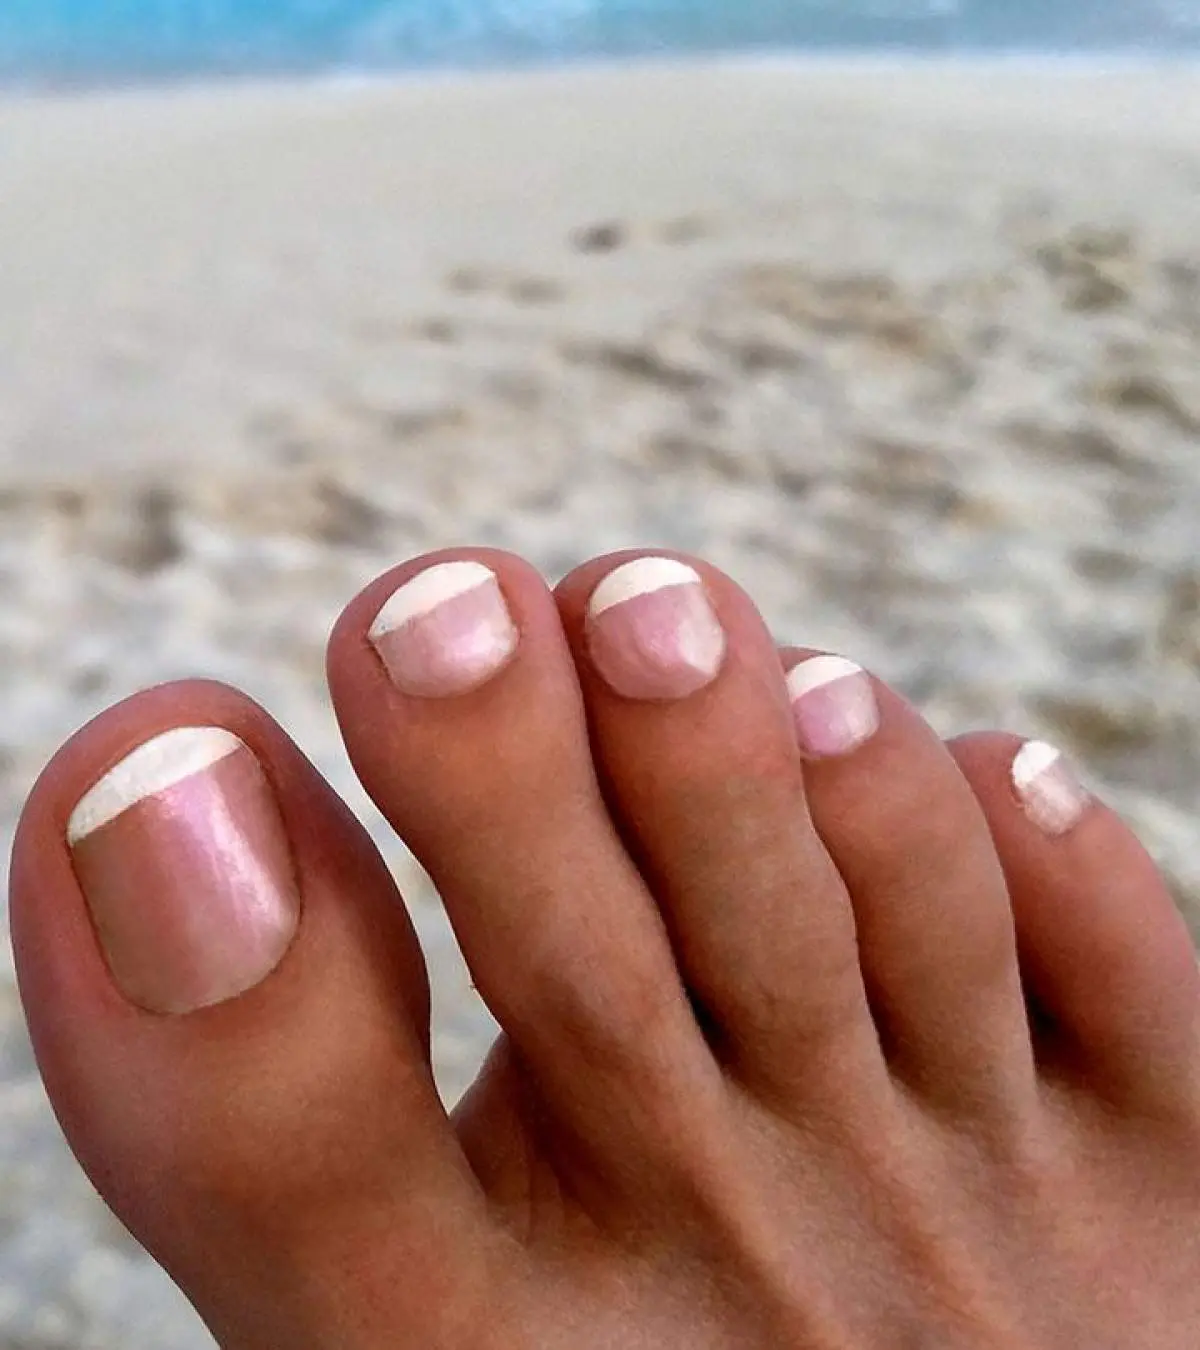
Okay, so today I wanted to do something a bit different with my toes. I’ve been seeing those white French toes all over my feed, and I thought, “Why not give it a shot?” I mean, how hard could it be, right?
First, I gathered all my stuff. I had some white nail polish, a clear base coat, and a top coat. I also grabbed some of those little sticker guides for French tips ’cause, let’s be honest, I’m not exactly a nail art pro. I made sure my toes were all clean and prepped. You know, basic pedicure stuff—soak, scrub, file, the whole shebang.
Next, I applied the base coat. This is important, you guys, don’t skip it! It helps protect your nails and makes the polish stick better. Once that was dry, which took forever, I carefully placed the sticker guides on each toe. This was a bit tricky, gotta say. I wanted that perfect curve, but my toes are so tiny! I ended up having to adjust them a few times to make sure each one of my toes is okay.
- Base Coat Application: I started with a thin layer of base coat on each toenail.
- Guide Placement: Then, I stuck those French tip guides just below the edge of my toenail. I tried to make sure the curve was even on each toe, but it took some fiddling.
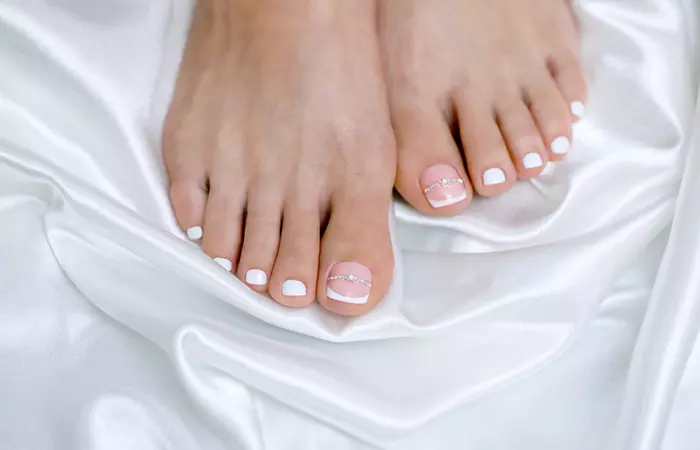
- White Polish Time: With the guides in place, I painted the tips of my toes with white polish. I did two coats to make sure it was nice and opaque. This was the fun part.
- Peeling the Guides: Once the white polish was slightly dry but not completely set, I carefully peeled off the guides. And bam, there were my crisp white tips.
- Top Coat: Finally, I finished with a layer of top coat to seal everything in and give it that glossy finish.
Almost there!
With the guides in place, it was time for the white polish. I did two coats just to make sure it was nice and solid. Then came the moment of truth—peeling off the guides. I held my breath and slowly peeled them away. And guess what? It actually looked pretty good! There were a couple of smudges, but nothing too major. I touched them up with a small brush dipped in nail polish remover. Teamwork!
Finally, I finished it off with a top coat to seal everything in and give it that glossy, salon-like finish. I let them dry for a good long while, ’cause the last thing I wanted was to mess them up after all that work. And there you have it, my very own white French toes! They’re not perfect, but I’m pretty darn proud of myself. It was way easier than I thought, and now my toes are looking all fancy and fresh.
I think I’ll definitely be doing this again. Maybe next time I’ll try some different colors or add some little designs. Who knows, I might even become a toe nail art expert. Okay, maybe not, but a girl can dream, right? Anyway, if you’re thinking of trying this out, I say go for it! It’s a fun little project, and your toes will thank you. Trust me on this one!