Okay, so let’s talk about these almond-shaped nails I’ve been trying out. I saw some stuff online about them being trendy and all, and I thought, why not give it a shot?
Getting Started
First off, I gathered all my nail stuff. I made sure I had my nail files, some base coat, a few colors I liked, and a top coat. I’m not a pro at this, so I wanted to keep it simple. I picked out a couple of colors, like a classic red and a nude, because you can’t go wrong with those, right?
Shaping the Nails
I started by filing my nails. Almond shape is kind of like an oval but with a point, so I filed the sides and rounded out the tips. It took a bit of time to get them all looking the same, but it was kind of relaxing, to be honest. I just followed the natural curve of my nails and tried to make them look symmetrical.
Applying the Base Coat
After shaping, I applied a base coat. This is supposed to help the polish stick better and protect the nail. I’m not sure how much it really does, but it feels like the right thing to do. I waited for it to dry completely—patience is key, I guess.
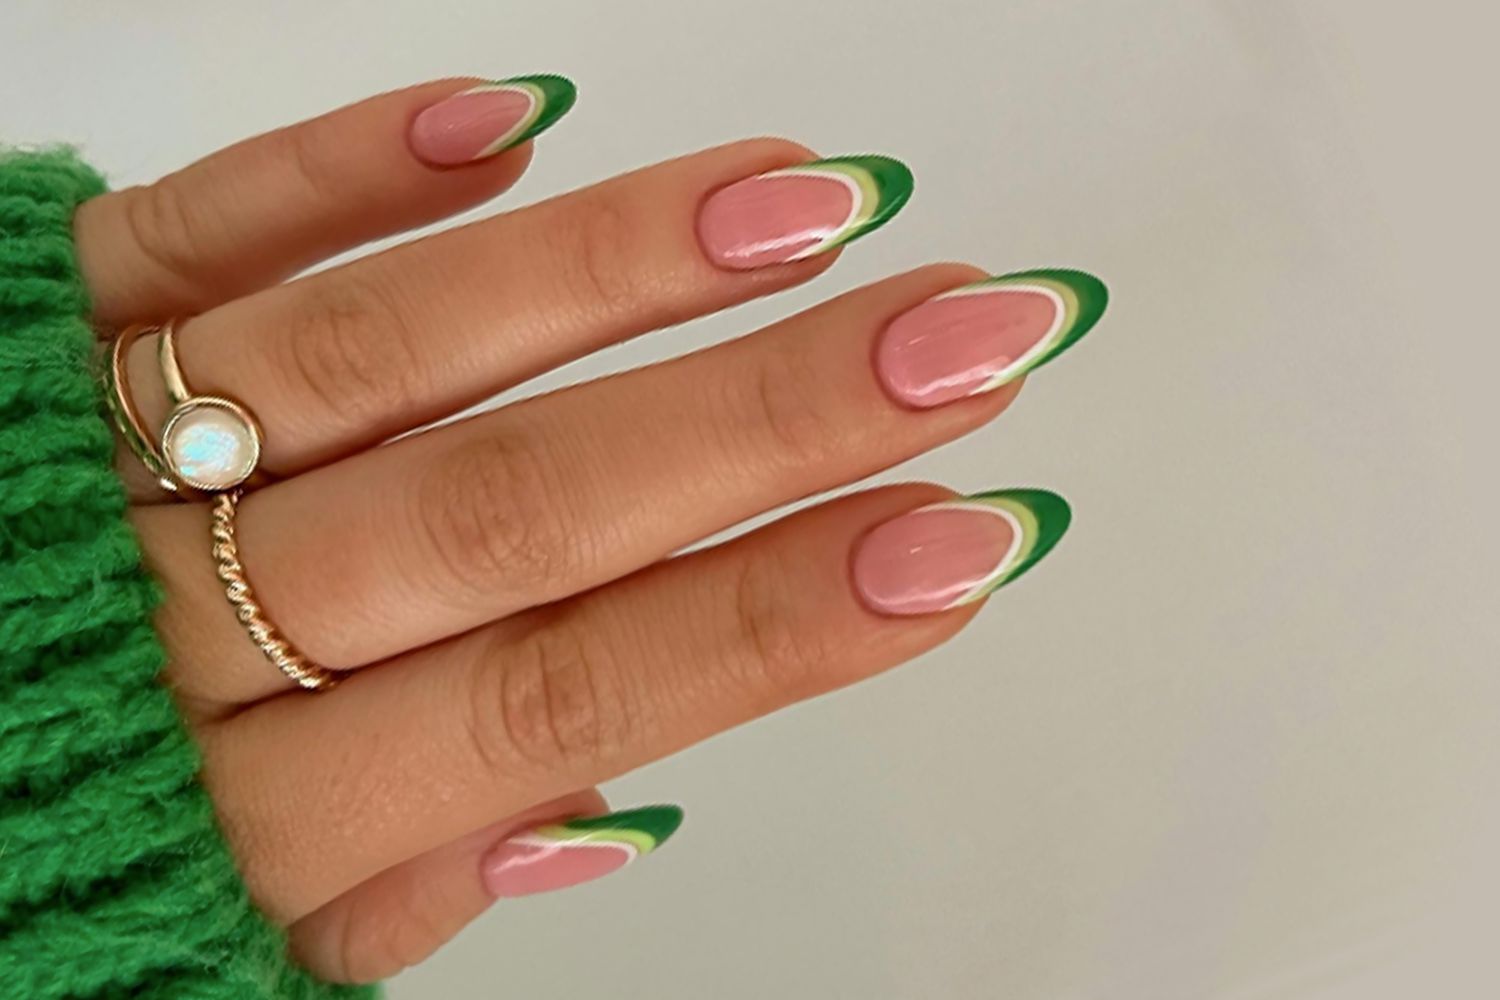
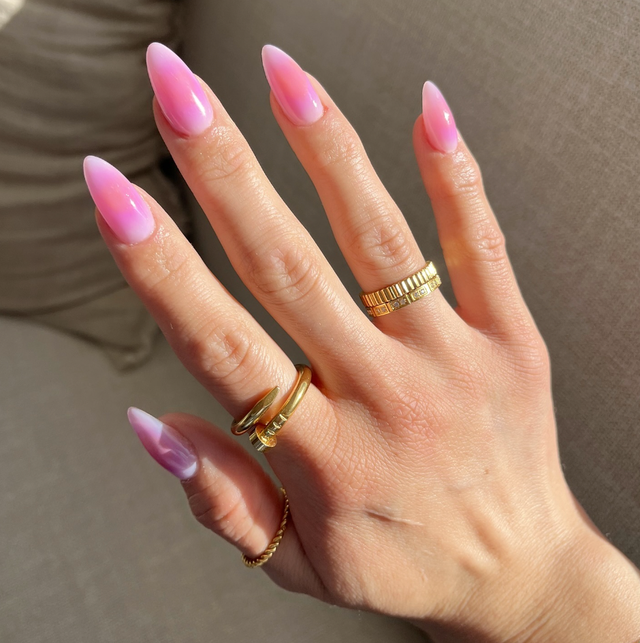
Painting the Nails
Now for the fun part—painting! I decided to go with a wavy red design on a couple of nails. I just took my red polish and made some wavy lines. It wasn’t perfect, but it looked pretty cool and artsy. For the rest of the nails, I just did a simple nude. It’s minimal effort but still looks nice and put together. I mean, it is very simple.
Adding a Top Coat
Once the color was dry, I added a top coat to seal everything in. This is supposed to make the manicure last longer and give it a nice shine. I always manage to smudge a nail or two, but I fixed them up as best as I could.
Final Touches
After everything dried, I cleaned up the edges with a small brush dipped in nail polish remover. This made the manicure look a lot neater. Then, I added some cuticle oil to keep my skin from drying out.
Admiring the Result
And that’s it! I ended up with a pretty cute set of almond-shaped nails. They do make my fingers look a bit longer, which is nice. It’s not a salon-perfect manicure, but I’m pretty happy with how it turned out. Plus, it was a fun little project to do at home. The wavy design is my favorite part—it’s simple but adds a bit of flair. It will be the best choice for the next party.
This whole nail thing is pretty fun. Maybe I’ll try some other designs next time. Who knows, maybe I’ll get better at it. This is the trendy look recently.
- Step 1: Gather your supplies.
- Step 2: Shape your nails.
- Step 3: Apply base coat.
- Step 4: Paint your design.
- Step 5: Add top coat.
- Step 6: Clean up and moisturize.
That’s all for now, folks! Hope you enjoyed my little nail adventure.