Okay, so, I’ve been seeing these Glamnetic nails all over my social media feeds lately, and I finally caved and decided to give them a try. I’m not someone who usually gets their nails done at a salon – too much time, too much money, you know? But I do like having nice-looking nails, so the idea of press-ons that are supposed to be easy to apply and reusable really appealed to me.
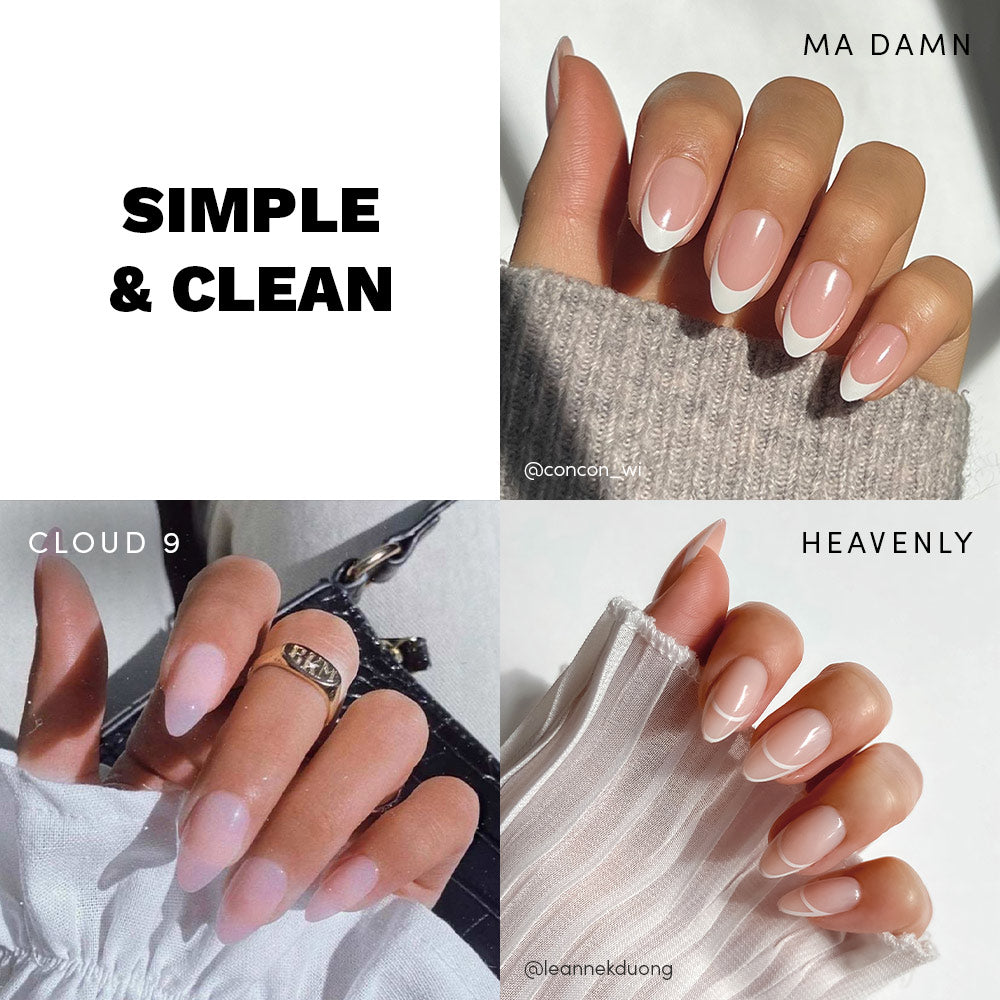
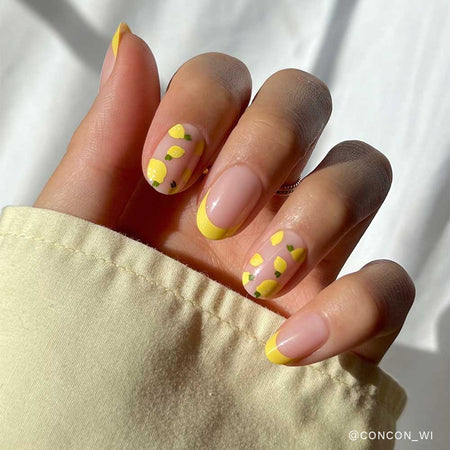
First off, I went online to browse and was amazed at all the choices! So many colors, shapes, and designs. It actually took me a while to narrow it down. They’ve got everything from simple, solid colors to really wild, glittery, blinged-out options. I went with something in the middle which is a classic French manicure design.
The ordering process was pretty straightforward.
- I placed my order.
- And a few days later, a cute little package arrived at my doorstep.
When I opened it up, I found:
- The set of nails.
- A nail file.
- A little tube of glue.
- A cuticle pusher stick thing.
It was all neatly packaged and looked pretty professional.
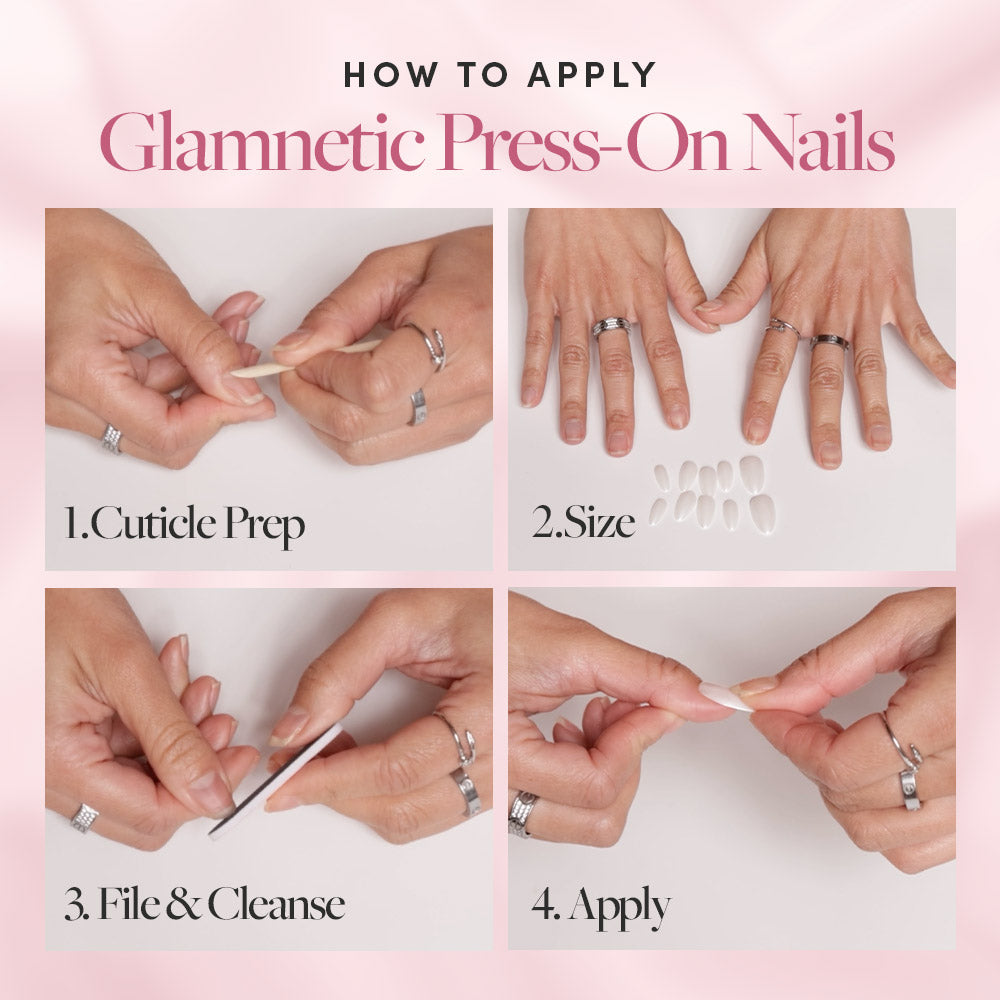
Application Time
Now, for the actual application. I’m not gonna lie, I was a bit nervous. I’m not the most coordinated person, and I was worried I’d end up with glue everywhere and crooked nails. But, I followed the instructions that came with the package and it was actually way easier than I expected!
- Step 1: I started by finding the right size nail for each of my fingers. They give you a bunch of different sizes, so it took a bit of trial and error, but I managed to find a good fit for each nail.
- Step 2: Next, I used the little file to gently rough up the surface of my natural nails. I guess this helps the glue stick better or something.
- Step 3: Then, I applied a thin layer of glue to both my natural nail and the back of the press-on nail. This part made me a little nervous, but I just took a deep breath and went for it.
- Step 4: I carefully placed the press-on nail onto my natural nail, making sure to align it properly, and pressed down firmly for about 30 seconds.
I repeated this process for each nail, and honestly, it went pretty smoothly! There were a couple of times where I had to readjust a nail because it was a little crooked, but it was easy enough to fix. It’s important to make sure you don’t have any natural oils on your nails, otherwise, the glue might not stick as well.
The whole process took me maybe 20 minutes total? Not bad at all! And the results? I was actually really impressed! They looked surprisingly natural and felt pretty secure.
I’ve been wearing them for about a week now, and they’re still holding up great. I’ve done dishes, taken showers, typed a bunch – basically all my normal daily activities – and they haven’t budged. They’re waterproof, just like the ads say. I even got a few compliments on them, which was a nice bonus!
I’m curious to see how long they’ll actually last. The website says you can get about two weeks of wear out of them before they start to loosen up. And the cool thing is, you can supposedly reuse them! So, when they do eventually come off, I’m planning to clean them up and try to reapply them. I’ll keep you guys updated on how that goes.
Overall, I’m giving these Glamnetic nails a big thumbs up. They’re a super convenient and affordable way to get a nice-looking manicure without having to go to a salon. And they’re way easier to apply than I thought they would be. If you’re on the fence about trying them, I’d say go for it! You might be pleasantly surprised.