Okay, so, I’ve been messing around with this thing called “closoinne” lately. It’s basically like, you take these thin metal wires and stick them onto a metal surface to make a design. Sounds simple, right? But let me tell you, it’s a whole process. I wanted to share my experience with y’all, ’cause why not?
First off, I had to gather all my materials. I decided to use copper as my base ’cause it seemed like the popular choice. I got some copper sheets and then went on a hunt for these thin metal strips—they call it cloison wire. I also needed some enamel powder, which is basically colored glass, and a kiln to fire the whole thing up.
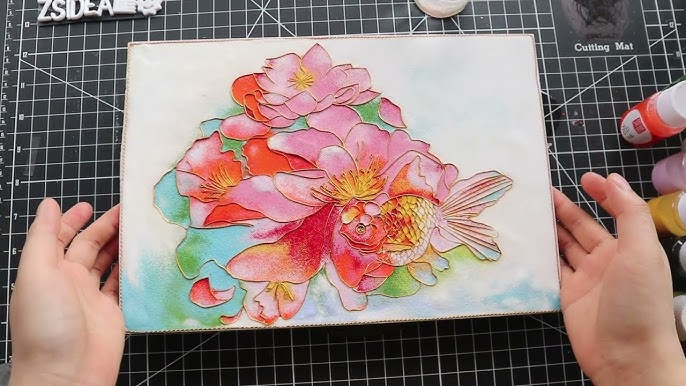
Once I had everything, I started by sketching out my design on paper. I went with a simple floral pattern ’cause I’m no Picasso. Then, I cut out a piece of copper sheet to the size I wanted and cleaned it up real good. After that, the real fun began. I started shaping the cloison wire to match my design. Let me tell you, bending those tiny wires is a pain in the butt! It took a lot of patience and some pliers to get them just right.
- Shaping the Wire: I carefully bent the wire, piece by piece, following the lines of my sketch.
- Sticking it Down: Next, I had to stick the wire onto the copper base. I used this special kind of glue that can withstand high temperatures.
After all the wires were glued down, it was time for the enamel. I carefully filled each section—they’re called “cells”—with different colored enamel powder. This part was kinda like coloring, but way more delicate. You gotta make sure the powder is evenly distributed, or else it’ll look wonky after firing.
- Layering the Enamel: I applied multiple layers of enamel, firing it in the kiln after each layer.
- Multiple Firings: Each firing was an adventure. I had to keep a close eye on the temperature and time to make sure the enamel melted just right.
Once all the layers were done, I had to do some final touches. I used a file to smooth out any rough edges and then polished the whole thing to make it shine. I’m not gonna lie, I messed up a few times. I think my kiln wasn’t hot enough one time, ’cause the enamel didn’t melt properly. And another time, I dropped the piece after it was done, and it chipped. Ugh, so frustrating! But hey, that’s how you learn, right?
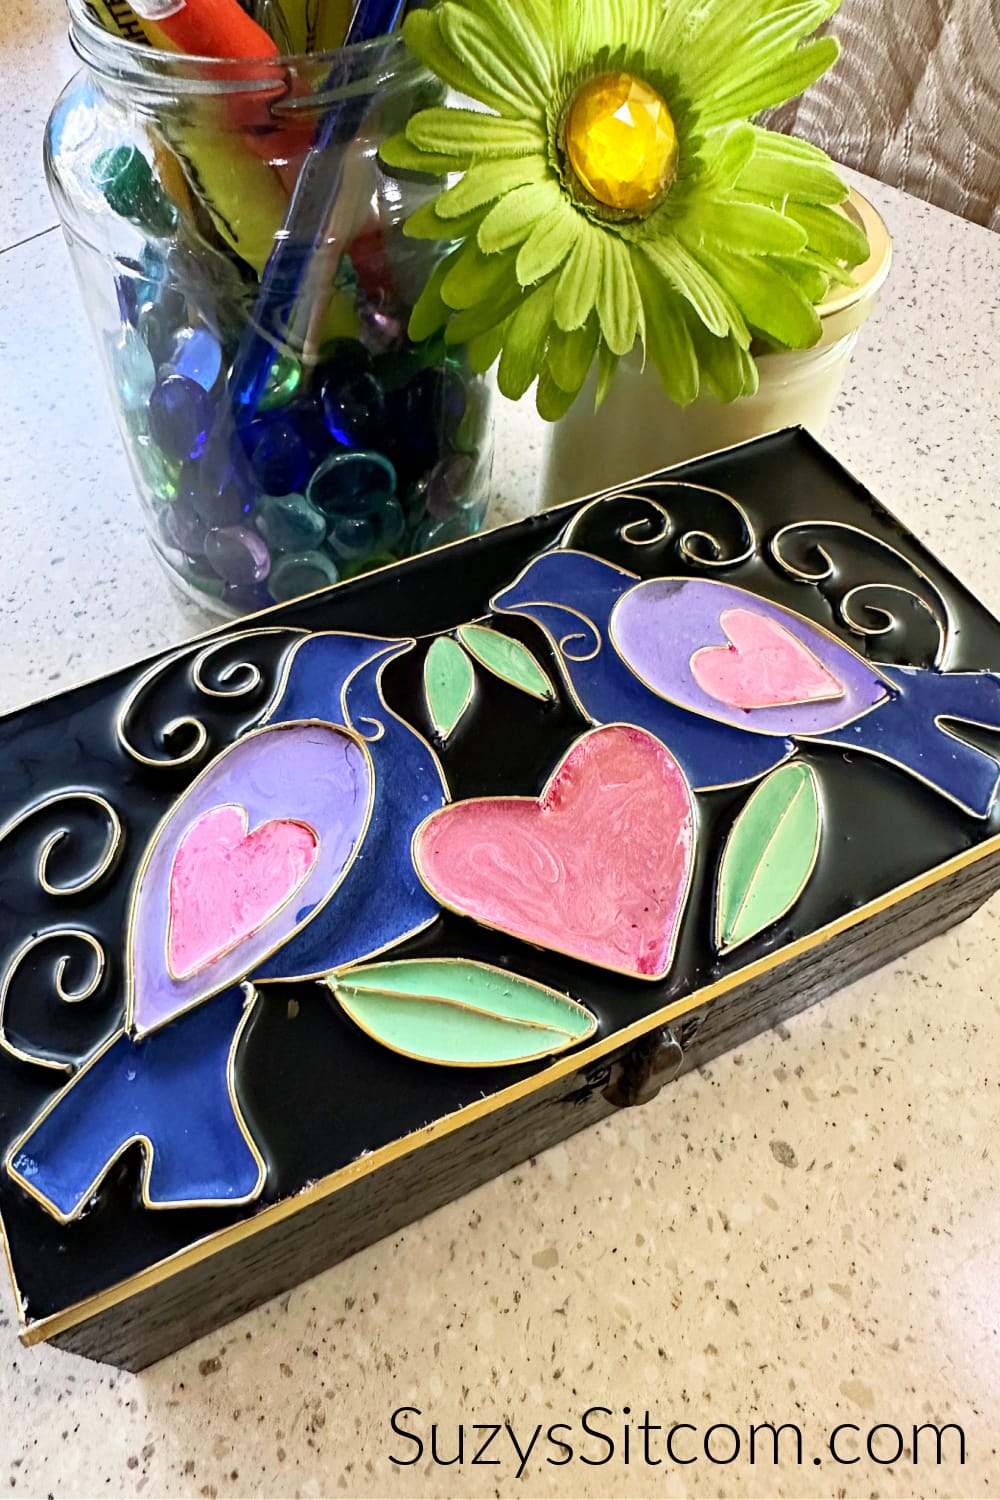
Finally, after all that work, my cloisonne piece was finished! It wasn’t perfect, but I was pretty proud of it. I made a pretty decent flower design. It’s amazing how you can turn some metal and colored powder into something so cool. I even tried to take some pictures of it but I’m not really good at taking pictures. Anyway, I highly recommend giving cloisonne a try if you’re into arts and crafts. It’s a challenging but rewarding experience. Just be prepared to spend a lot of time and maybe mess up a few times along the way. That’s all part of the fun, I guess!
Things I learned from doing this:
- Patience is key: Bending those tiny wires takes forever!
- Firing is tricky: Gotta watch that temperature like a hawk.
- Don’t drop it: Seriously, don’t. It will chip.
So yeah, that’s my cloisonne adventure. Hope you enjoyed hearing about it!