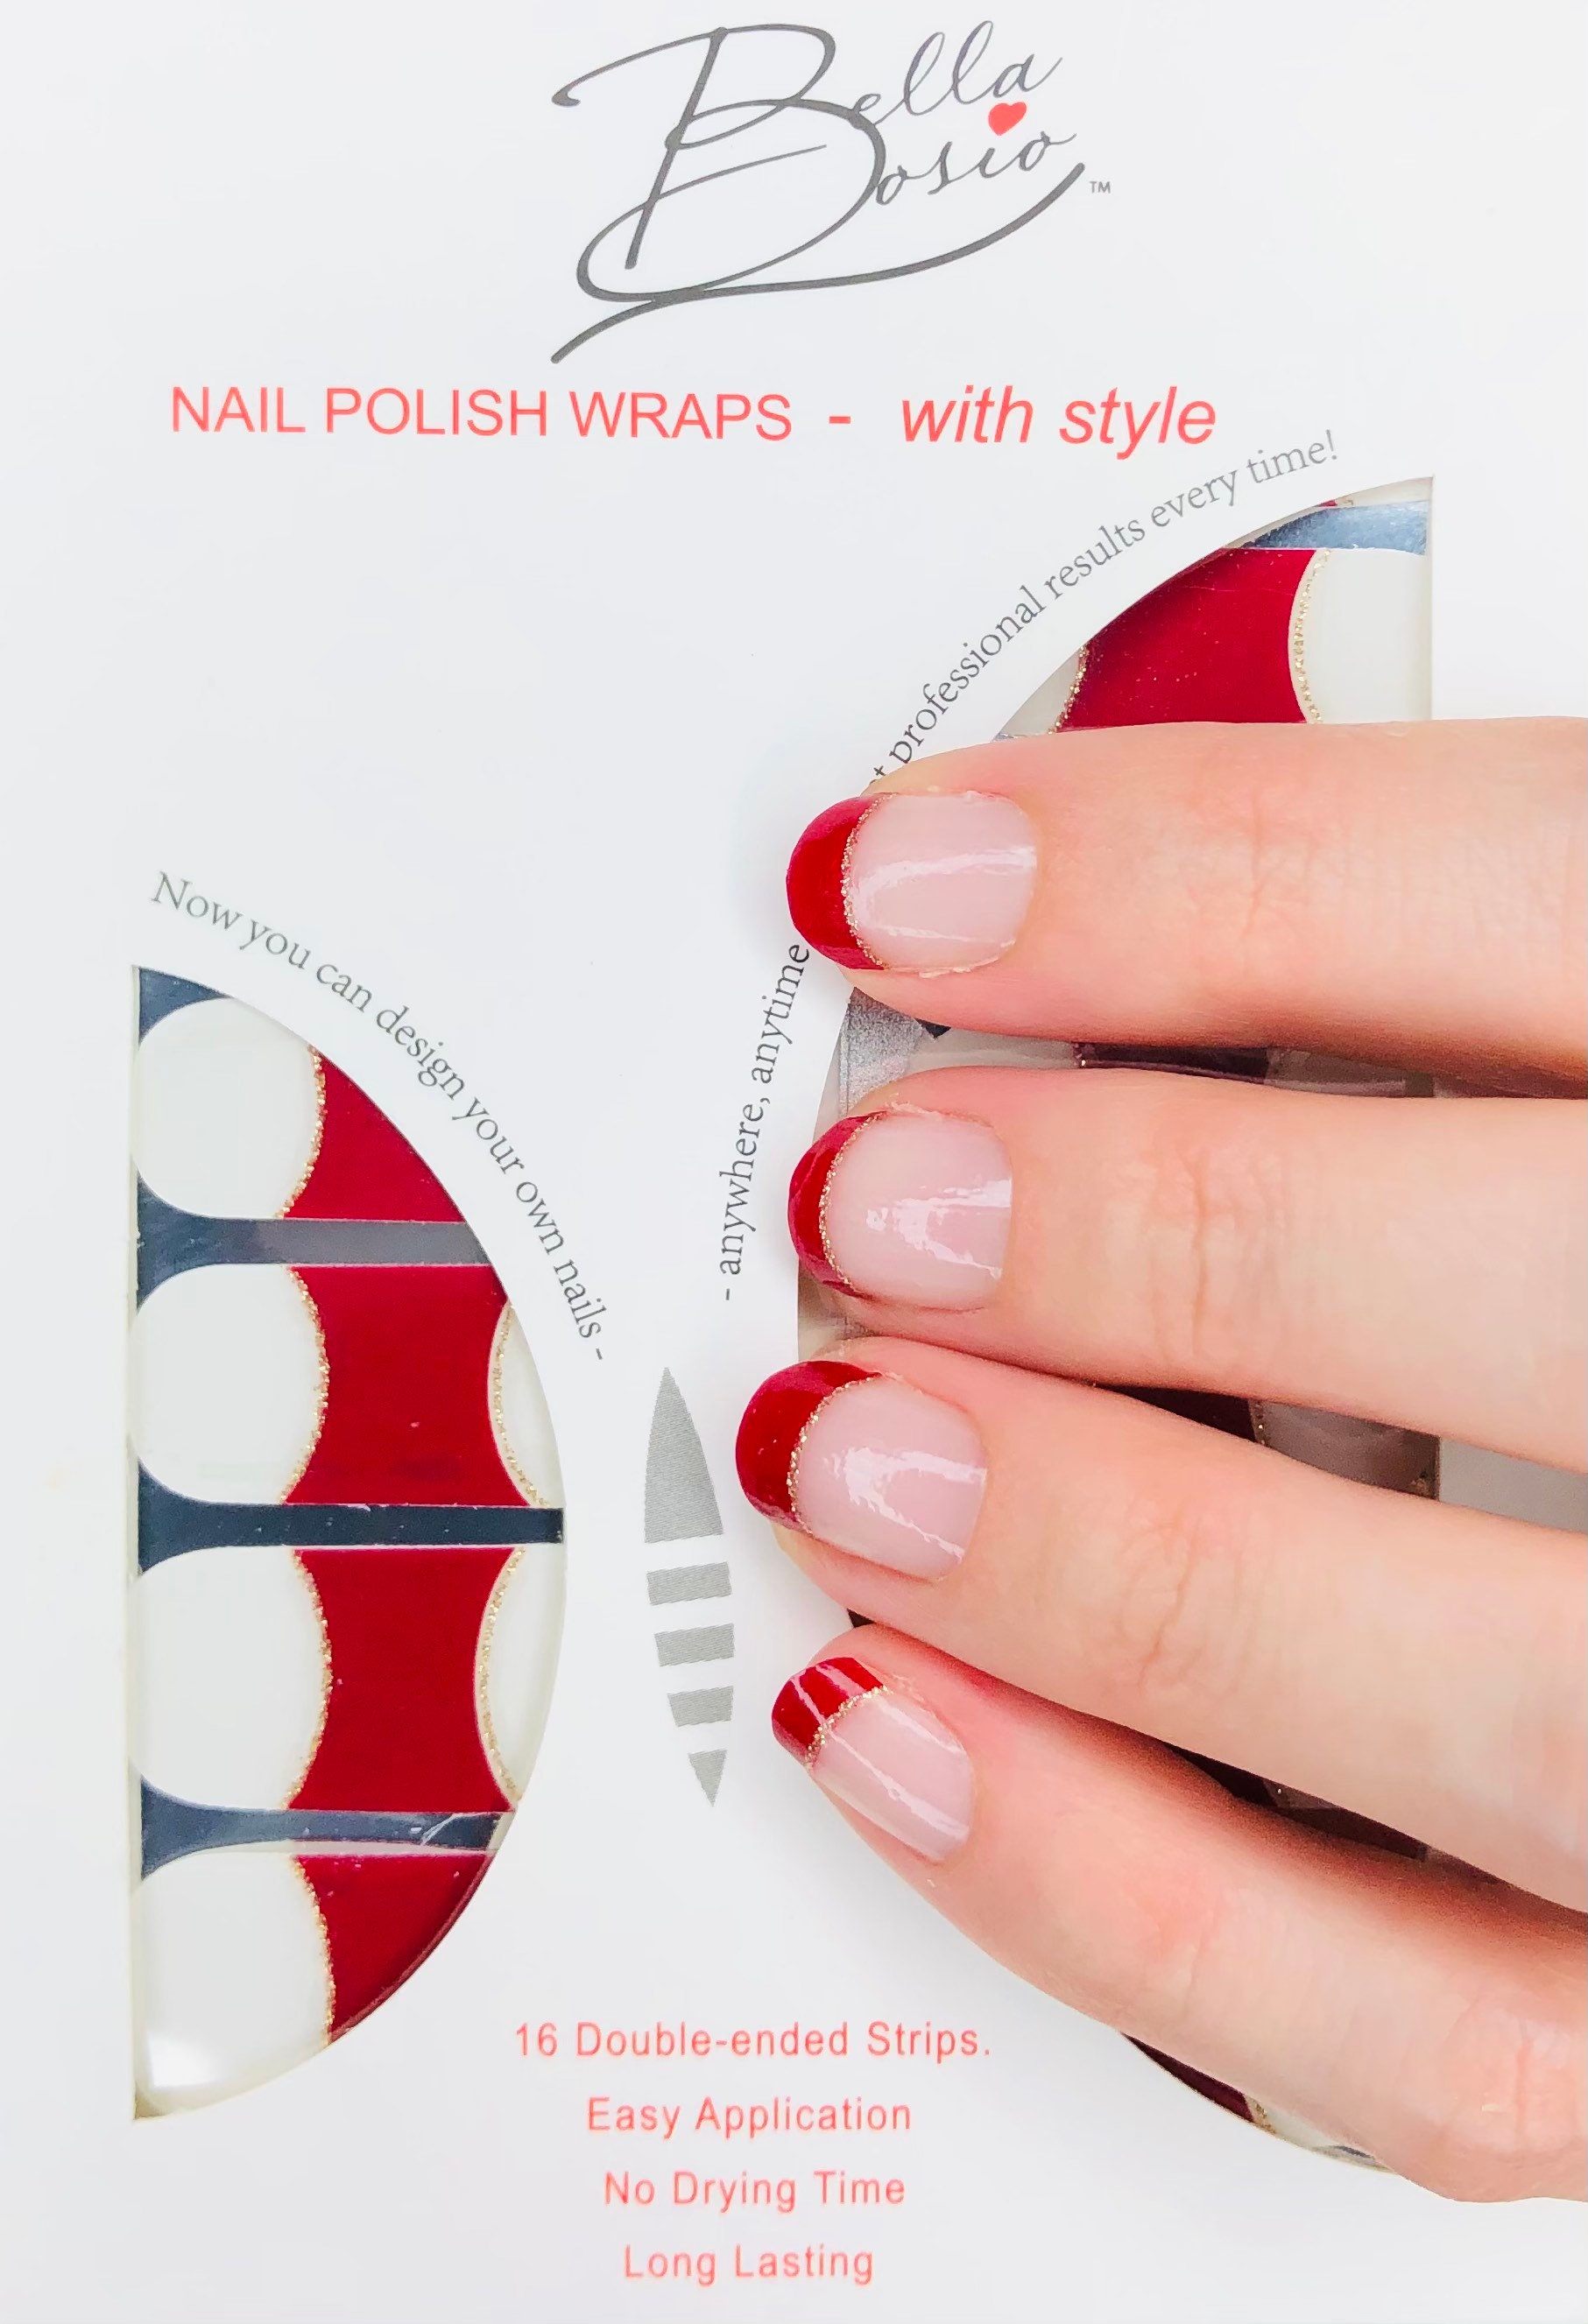
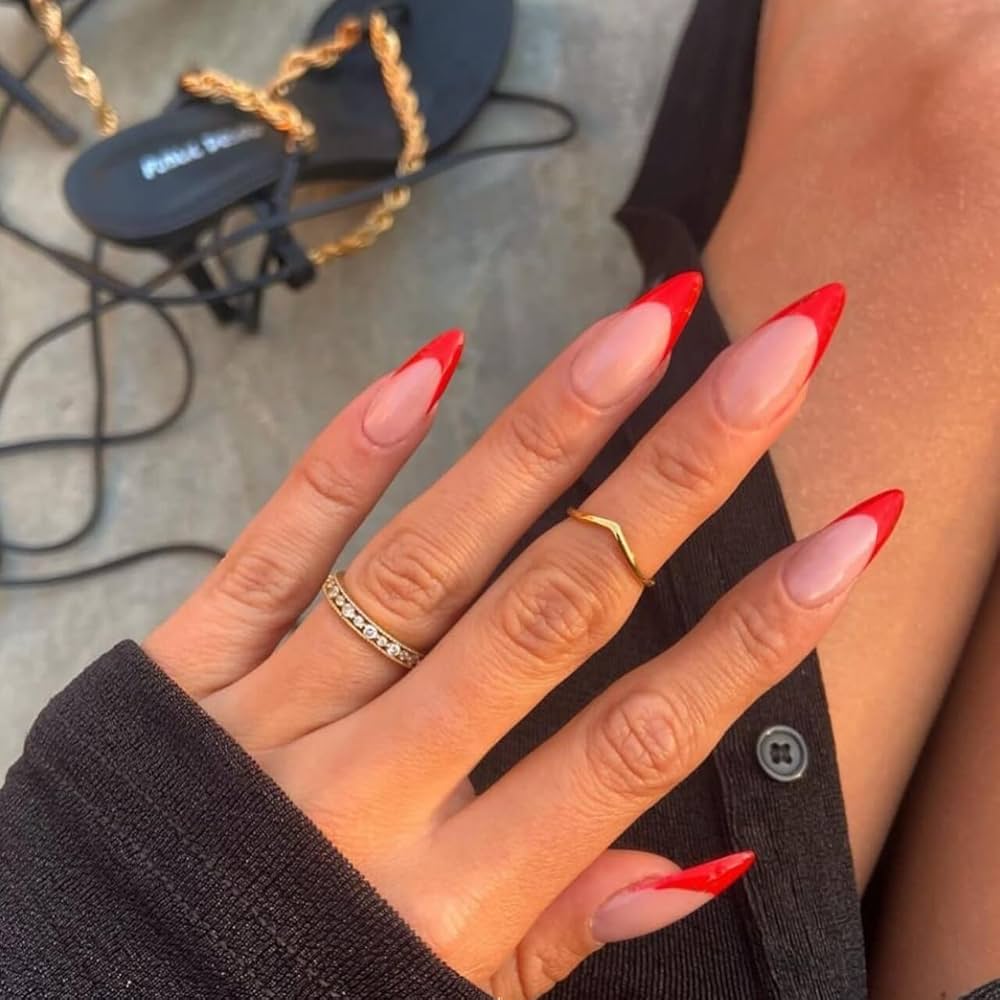
So, I’ve been wanting to try out a red tips French manicure for a while now. I think it’s a classy look, but with a little bit of an edge, you know? I finally decided to give it a shot last weekend. It wasn’t too hard, but it definitely took some patience.
Getting Started
First, I gathered all my supplies. I already had a few red nail polishes, but I picked up a new one that was a bit brighter, just for this. I also made sure I had a good base coat, a top coat, and some of those little sticker guides for the tips. I laid everything out on my desk, so I wouldn’t have to go searching for anything mid-manicure.
Prepping My Nails
Before I started painting, I prepped my nails. I removed any old polish with a cotton ball and some remover. I trimmed and filed my nails into a nice square shape. I also pushed back my cuticles gently. I washed my hands to make sure there wasn’t any dust or oil left on my nails.
The Base Coat
Next, I applied a thin layer of base coat to each nail. This helps the polish stick better and also protects your nails from staining. I waited a few minutes for the base coat to dry completely before moving on.
Applying the Red Tips
This was the trickiest part. I took one of those sticker guides and placed it carefully across my nail, leaving the tip exposed. Then, I painted the tip of my nail with the red polish. I tried to get a nice, clean line, but it took a few tries to get it right. I did this for all my nails on one hand, then repeated the process on the other hand. My hands were shaking a little bit so I had to clean up some nails with a tiny brush and remover.
The Top Coat
Once the red tips were dry, I removed the sticker guides carefully. Then, I applied a thin layer of top coat over the entire nail. This seals in the color and gives it a nice, glossy finish. I added a second layer of top coat after the first one dried, just to be sure.
Admiring My Work
Finally, I was done! I let my nails dry for a good 30 minutes before I did anything else. I was pretty happy with how they turned out. It wasn’t perfect, but for my first time, I think I did a decent job. It’s definitely a look I’ll be trying again. It’s not something I can easily get from the salon near me, and it usually costs around $50, which is not cheap.
- Tip 1: Be patient! It takes time to get the hang of it.
- Tip 2: Use good quality polish. It makes a big difference.
- Tip 3: Don’t be afraid to mess up. You can always clean it up with a small brush and some remover.
- Tip 4: Have fun with it! Experiment with different shades of red.
I might try a different color next time. Maybe blue or purple. Or maybe I’ll get really fancy and try some nail art. The possibilities are endless!