Okay, so, I’ve been wanting to try out some new nail designs lately, and I finally decided to go for it! I went with white acrylic nails with a design, and I’m here to spill the beans on the whole process.

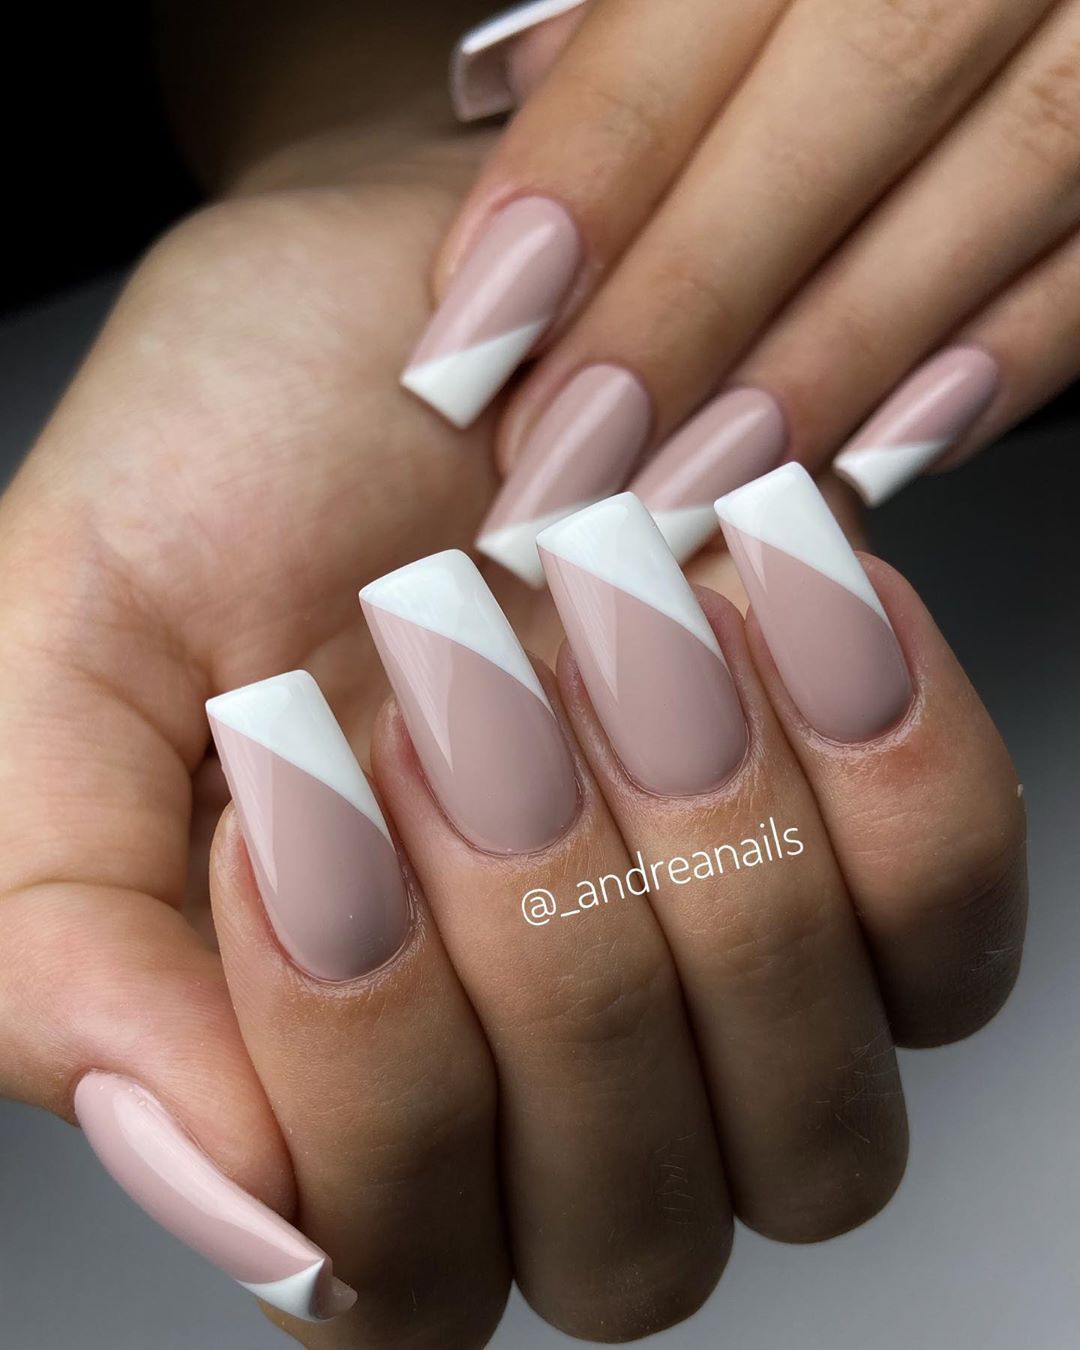
First off, I did a bit of looking around for some inspiration. I mean, there are so many ideas out there, it’s kinda overwhelming, you know? But I knew I wanted something clean and classy with a bit of flair. I scrolled through tons of pictures and finally settled on this white design that looks like those chill waves at the beach. I just love how simple yet eye-catching it is.
Next up, I made an appointment at my favorite nail salon. It’s always a good time there – good music, nice people, and they really know their stuff. When I got there, I showed my nail tech the pictures I’d saved. She nodded, totally getting the vibe I was going for.
We started by prepping my nails. She cleaned them up, pushed back my cuticles, and buffed the surface a bit. Then came the fun part – applying the acrylic. She carefully sculpted each nail, making sure they were all even and the shape I wanted. It’s kinda cool watching them transform your nails like that, isn’t it?
- Prepping the nails
- Applying the acrylic
- Painting the base white
- Adding the design details
- Sealing everything with a top coat
Once the acrylic was set, it was time for the color. We went with a milky white, which I think is just so pretty and goes with everything. She painted a couple of coats to make sure it was nice and opaque. I was already loving how they looked at this point.
Adding the Design
Now for the design part! My nail tech, she’s a real artist, I’m telling you. She used a thin brush and some white nail polish to create those wavy lines on a few of my nails. It was like watching a mini masterpiece come to life. The other nails, we left just plain white, which made the design stand out even more. I was really impressed with how delicate and precise her work was.
After the design was done, she applied a top coat to seal everything in and give it a glossy finish. Then, I put my hands under the UV lamp to cure the polish. And that was it!
I’m so happy with how my nails turned out. They look exactly how I imagined, maybe even better! I’ve gotten so many compliments on them already. I think white acrylic nails are definitely going to be my go-to for a while. Plus, they’re super versatile, you know? You can pair them with any outfit and they just elevate the whole look.
So yeah, that’s my nail adventure for you. If you’re thinking about getting white acrylic nails with a design, I say go for it! It’s a fun way to express yourself, and you’ll feel like a million bucks.